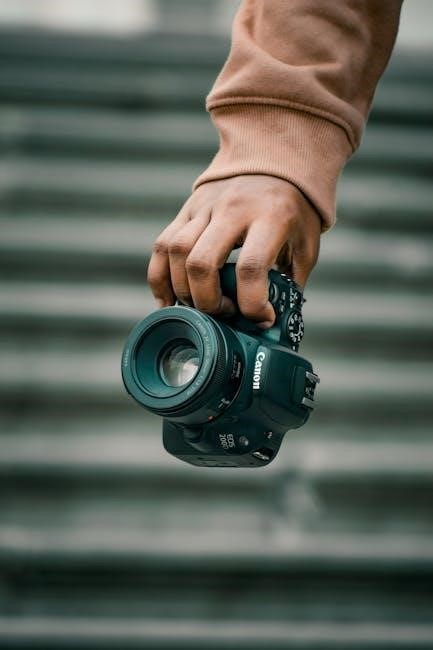
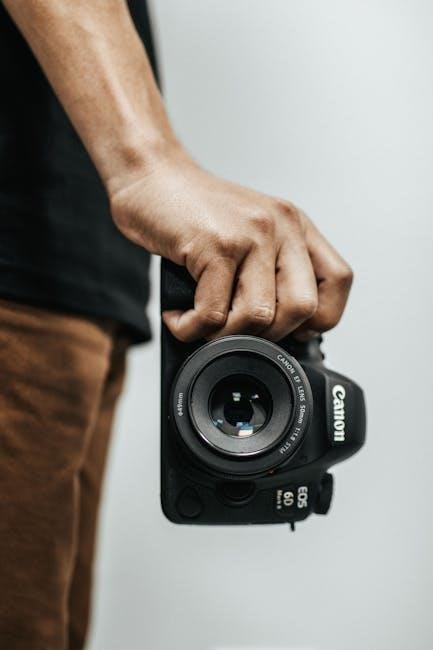
Canon AE-1 Program User Manual: A Comprehensive Guide
This manual provides detailed instructions for the Canon AE-1 Program camera. It covers everything from basic operation to advanced techniques,
including exposure modes, focusing, and flash photography. Find manuals and parts diagrams online for assistance.
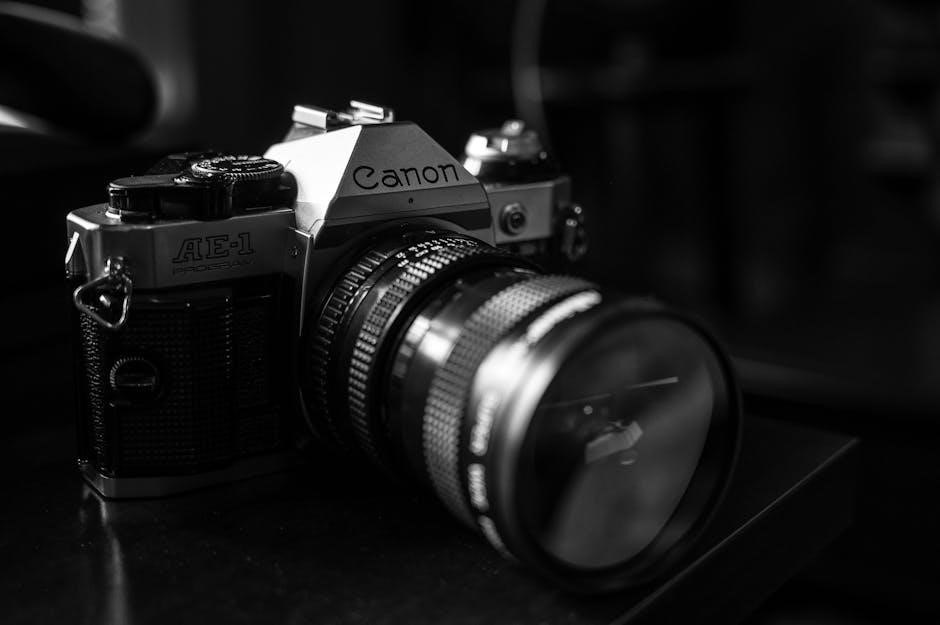
The Canon AE-1 Program, released in 1981, represents a pivotal moment in 35mm SLR camera history. It was Canon’s first camera to feature a fully programmed exposure mode, simplifying photography for both beginners and experienced users. This innovative feature automatically selected both the aperture and shutter speed, based on light readings taken by the camera’s sophisticated metering system.
Prior to the AE-1 Program, photographers often had to manually calculate the correct exposure settings. The AE-1 Program removed much of this complexity, allowing photographers to concentrate on composition and capturing the moment. However, it didn’t eliminate manual control; shutter-priority and aperture-priority modes were also available, offering experienced photographers greater creative flexibility.
The camera’s robust build quality and reliable performance quickly made it a favorite among professionals and enthusiasts alike. User manuals and readily available parts diagrams demonstrate the enduring popularity of this classic camera. Today, the Canon AE-1 Program remains a highly sought-after vintage camera, celebrated for its ease of use, versatility, and iconic design. It’s a testament to Canon’s commitment to innovation and quality in photographic equipment.
Understanding the Camera’s Key Features
The Canon AE-1 Program boasts several defining features. Its programmed exposure mode is central, automating aperture and shutter speed selection for optimal results in various lighting conditions. Shutter-priority (Tv) mode allows the photographer to choose the shutter speed, while the camera sets the aperture, ideal for controlling motion blur or freezing action.
Aperture-priority (Av) mode lets you select the desired depth of field, with the camera determining the appropriate shutter speed. The camera utilizes a center-weighted averaging metering system, evaluating light across the frame but prioritizing the center. A bright, clear viewfinder provides a comprehensive view of the scene, including focusing aids and exposure information.
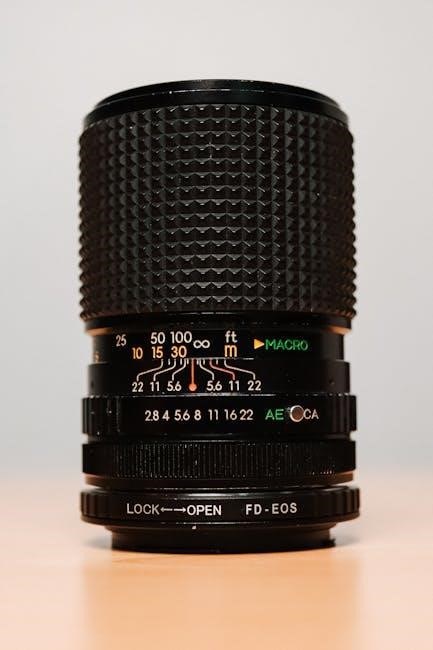
The AE-1 Program features a mechanically controlled focal plane shutter, offering speeds from 2 seconds to 1/1000th of a second, plus bulb mode for long exposures. It accepts Canon FD mount lenses, known for their quality and compatibility. Manuals detail the functionality of each component, and parts diagrams illustrate the camera’s internal layout. The inclusion of a self-timer and compatibility with external flash units further enhance its versatility.
Loading Film and Battery Installation
Loading film into the Canon AE-1 Program is a straightforward process. Open the camera back by sliding the film release lever. Insert a 35mm film cartridge into the film chamber, ensuring it seats correctly. Thread the film leader onto the take-up spool, advancing it a couple of turns with the film advance lever. Close the camera back securely. The film counter will automatically begin registering each exposed frame.
Battery installation requires four AA-size batteries. Locate the battery compartment on the camera’s bottom. Open the compartment and insert the batteries, observing the correct polarity (+ and -) as indicated inside. Ensure the batteries are securely seated. The camera will not operate without properly installed batteries.
The batteries power the light meter, electronic shutter, and other functions. User manuals provide visual guides for both film loading and battery installation. Regularly check battery levels, as low batteries can affect exposure accuracy. Proper battery installation is crucial for the camera’s functionality, and diagrams can assist with locating the compartment.
Exposure Modes: Shutter-Priority and Aperture-Priority
The Canon AE-1 Program offers versatile exposure control through Shutter-Priority and Aperture-Priority modes. In Shutter-Priority (Tv) mode, you select the shutter speed, and the camera automatically sets the aperture for correct exposure. This is ideal for controlling motion – fast speeds freeze action, while slower speeds create motion blur.
Aperture-Priority (Av) mode allows you to choose the aperture (f-stop), controlling depth of field. A wider aperture (smaller f-number) creates a shallow depth of field, blurring the background, while a narrower aperture (larger f-number) increases depth of field, keeping more of the scene in focus.
The camera’s metering system calculates the appropriate exposure based on your chosen setting and the scene’s brightness. User manuals detail how to switch between these modes using the mode selector dial. Understanding these modes empowers creative control over your photographs. Mastering these settings, as outlined in the manual, is key to achieving desired photographic effects.
Program Mode: Automatic Exposure Control
Program Mode (P) on the Canon AE-1 Program simplifies photography by automating both shutter speed and aperture selection. The camera intelligently analyzes the scene’s lighting conditions and chooses the optimal settings for a well-exposed photograph. This mode is perfect for beginners or situations requiring quick, effortless shooting.
While in Program Mode, the camera continuously evaluates the light and adjusts settings accordingly. The user manual explains that the camera prioritizes a sufficiently fast shutter speed to prevent motion blur, while simultaneously selecting an appropriate aperture to maintain adequate depth of field.
Although automatic, Program Mode isn’t entirely hands-off. Exposure compensation allows you to fine-tune the exposure if the camera’s initial assessment isn’t quite right. Refer to your Canon AE-1 Program manual for detailed instructions on utilizing exposure compensation. This mode offers a balance between convenience and control, making it a versatile option for various photographic scenarios.
Focusing System and Techniques
The Canon AE-1 Program utilizes a single-lens reflex (SLR) focusing system, meaning you see directly through the lens. Achieving sharp focus relies on accurately aligning the image on the focusing screen with your desired subject. The user manual details several focusing techniques to ensure crisp results.
Split-image focusing is a primary method. Within the viewfinder, a central patch is divided into two sections. When the image is in focus, these sections align perfectly. Rotate the focusing ring on the lens until this split image merges into a single, clear image. For subjects lacking strong contrast, the manual suggests using the new super-range finder.
Microfocusing, a subtle adjustment, can refine focus for critical sharpness. Practice is key to mastering these techniques. Remember to consider depth of field – the area in acceptable focus – as it impacts how much of the scene appears sharp. The Canon AE-1 Program offers precise control, allowing photographers to achieve consistently focused images;
Metering System Explained
The Canon AE-1 Program features a center-weighted averaging metering system. This means the camera prioritizes the light levels in the center of the frame when calculating exposure, while still considering the surrounding areas. Understanding this system is crucial for accurate exposures, as detailed in the user manual.
The camera measures light reflected from the scene and displays the suggested aperture and shutter speed settings in the viewfinder. A needle indicates whether the exposure is correct, overexposed (+), or underexposed (-). Adjust your settings until the needle centers. The AE-1 Program offers both shutter-priority and aperture-priority modes, allowing you to control one setting while the camera automatically adjusts the other.
Keep in mind that strongly backlit scenes or subjects with high contrast can challenge the metering system. The manual recommends using exposure compensation in these situations to fine-tune the exposure and achieve the desired results. Mastering the metering system unlocks the full potential of the Canon AE-1 Program.
Using the Viewfinder
The Canon AE-1 Program’s viewfinder provides a wealth of information essential for accurate shooting. It displays a bright, clear view of the scene, along with crucial exposure data. The split-image focusing spot in the center assists with achieving sharp focus, a key feature highlighted in the user manual.
Within the viewfinder, you’ll find the exposure indicators – a needle that moves left and right to show underexposure or overexposure; LEDs also illuminate to confirm correct exposure. The viewfinder also shows the selected shutter speed (in shutter-priority mode) or aperture (in aperture-priority mode). The depth-of-field preview lever allows you to visualize the area in focus at your chosen settings.
Properly utilizing the viewfinder is fundamental to successful photography with the AE-1 Program. Familiarize yourself with all the displayed information and practice using the focusing aids. The manual emphasizes that consistent viewfinder use will significantly improve your shooting accuracy and overall results.
Depth of Field Control
Depth of field, the area of acceptable sharpness in your photograph, is a crucial element of creative control with the Canon AE-1 Program. The user manual details how aperture selection directly impacts this area. A wider aperture (smaller f-number, like f/2.8) creates a shallow depth of field, ideal for isolating subjects with a blurred background.
Conversely, a narrower aperture (larger f-number, like f/16) yields a greater depth of field, keeping more of the scene in focus – perfect for landscapes or group portraits. The AE-1 Program allows you to precisely control aperture in aperture-priority mode, or the camera will select it automatically in Program mode.

Utilizing the depth-of-field preview lever on the camera body allows you to visually assess the effect of your chosen aperture before taking the shot. Understanding the relationship between aperture, focal length, and subject distance, as explained in the manual, is key to mastering depth of field and achieving your desired photographic look.
Self-Timer and Remote Release
The Canon AE-1 Program offers both a self-timer function and the option for a remote release, expanding your photographic possibilities. The self-timer, activated by a lever on the camera’s front, introduces a delay – typically 10 seconds – between pressing the shutter button and the actual exposure. This is invaluable for self-portraits or situations where you need to be included in the frame.
The user manual details the self-timer’s operation, including the ability to cancel the timer mid-cycle by pressing the shutter button again. For even greater control and to avoid camera shake entirely, a remote release cable can be connected to the camera’s remote shutter release socket.
Using a remote release allows you to trigger the shutter from a distance, essential for long exposures, macro photography, or wildlife shots where any movement could disturb your subject. The manual illustrates the proper connection and use of compatible remote release cables, ensuring smooth and stable operation of your AE-1 Program.
Flash Photography with the AE-1 Program
The Canon AE-1 Program is designed to work seamlessly with a variety of Canon Speedlites, enhancing your ability to capture stunning images in low-light conditions. The camera features a hot shoe for direct flash mounting and offers both automatic and manual flash control modes. The user manual thoroughly explains these modes, detailing how the camera communicates with compatible Speedlites for balanced exposures;
Automatic mode allows the flash to automatically adjust its output based on the camera’s metering system, simplifying flash photography. Manual mode provides full control over flash power, allowing you to fine-tune the lighting for creative effects. The manual also covers the use of off-camera flash with appropriate accessories, expanding your lighting options.
Understanding flash synchronization speed is crucial; the AE-1 Program’s manual clearly outlines this limitation to prevent dark bands appearing in your images. Proper flash technique, as detailed in the manual, unlocks the full potential of your Canon AE-1 Program.
Troubleshooting Common Issues
Even with careful use, occasional issues can arise with the Canon AE-1 Program. This section of the user manual addresses common problems and their solutions. A frequent concern is film advance issues; the manual guides users through checking the film loading and ensuring proper winding. Exposure inaccuracies are also covered, advising users to verify battery strength and metering mode settings.
If the shutter doesn’t fire, the manual suggests checking the shutter speed dial and ensuring the camera isn’t in locked mode. Light leaks can occur, and the manual instructs users to inspect the film door seal and light seals. For viewfinder issues, it recommends cleaning the viewfinder window and checking the diopter adjustment.
The Canon AE-1 Program user manual also provides guidance on error codes, if any are displayed, and directs users to Canon’s service centers for more complex repairs. Regularly consulting the manual can prevent minor issues from escalating into major problems, ensuring continued enjoyment of your camera.
Canon AE-1 Program Parts Diagram
A detailed Canon AE-1 Program parts diagram is essential for understanding the camera’s internal components and facilitating repairs. This section of the user manual, often found as a supplement, visually identifies key parts like the shutter mechanism, film transport system, metering cell, and electronic circuitry.
The diagram typically labels components with corresponding numbers or letters, cross-referenced with a parts list. This allows users and technicians to pinpoint specific areas during maintenance or troubleshooting. Common areas highlighted include the top cover, baseplate, lens mount, and internal wiring harnesses.
Online resources, such as those found on alternatordiagram.blogspot.com and manualios.com, offer digital versions of these diagrams. These diagrams are invaluable when replacing worn parts or performing a complete overhaul. Understanding the arrangement of these components is crucial for successful camera repair and maintenance, extending the lifespan of your Canon AE-1 Program. Accessing a clear parts diagram is a key component of the user manual experience.
Care and Maintenance
Proper care and maintenance are vital for preserving the functionality and longevity of your Canon AE-1 Program. Regularly clean the camera body with a soft, dry cloth to remove dust and fingerprints. Avoid using harsh chemicals or solvents, as these can damage the finish.
The lens should be cleaned with a lens brush and cleaning solution specifically designed for camera lenses. Inspect the light seals periodically for deterioration, as degraded seals can cause light leaks. The film chamber should be kept clean and free of debris to ensure proper film transport.
Battery contacts should be cleaned occasionally to maintain a good connection. Store the camera in a dry, cool place, away from direct sunlight and extreme temperatures. Avoid dropping or subjecting the camera to physical shock. Following these simple guidelines, as outlined in the user manual, will help ensure your Canon AE-1 Program continues to perform reliably for years to come, safeguarding your investment and photographic endeavors.
Resources for Further Learning
Expanding your knowledge of the Canon AE-1 Program beyond this user manual is highly encouraged. Numerous online resources offer tutorials, tips, and troubleshooting advice. Websites like ManualsLib (ManualsLib) host downloadable versions of the original instruction manual and service manuals.

Photography forums and communities dedicated to film photography are excellent places to connect with other enthusiasts, ask questions, and share experiences. Blogs and YouTube channels often feature in-depth reviews, demonstrations, and repair guides specifically for the AE-1 Program.
Exploring these resources can unlock the full potential of your camera and deepen your understanding of photographic principles. Consider searching for Canon AE-1 Program parts diagrams if you are undertaking repairs or maintenance. Websites offering Canon service manuals (like epilstart.ru) can provide detailed schematics. Remember to always verify the credibility of online sources before implementing any advice or modifications.